Step by step: step by step instructions
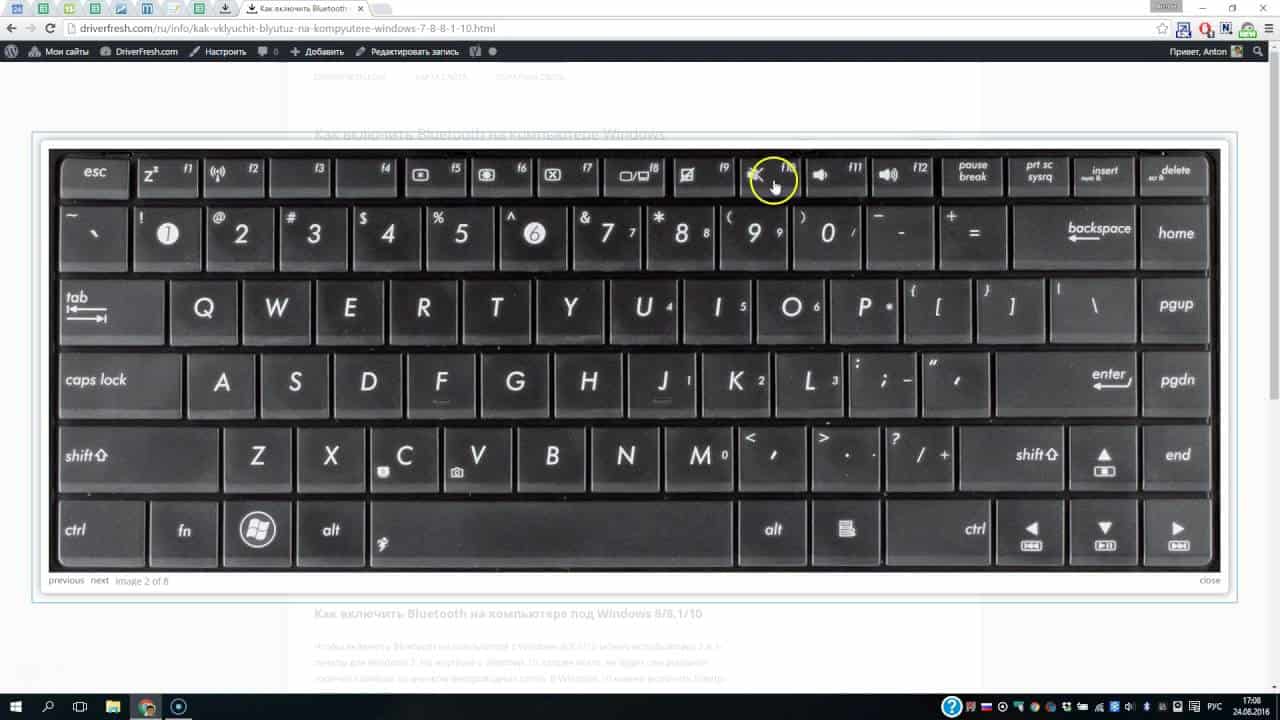
If you've just upgraded to Windows 7 and don't know how to turn on Bluetooth, don't worry - we'll help you. In this article, we will provide you with detailed instructions on how to enable Bluetooth on Windows 7. Step 1: Open Control Panel. Step 2: Click on "Devices and Printers". Step 3: Click on "Add Device". Step 4: Turn on Bluetooth on your device (such as your phone or headphones). Step 5: Find your device in the list of available devices and click on it. Step 6: Click on the "Next" button. Step 7: Wait while Windows configures your device. Step 8: Click on the "Done" button. Congratulations, you now have access to Bluetooth on Windows 7! If you can't find "Devices and Printers", you can use the taskbar search and type "Bluetooth". We hope that these instructions helped you enable Bluetooth on Windows 7. If you encounter any problems, do not hesitate to seek professional help.
1. Check for adapter
Before you enable Bluetooth on Windows 7, you need to make sure you have an adapter. To do this, go to 'Control Panel' and select 'Devices and Printers'. If there is an adapter, you will find a 'Bluetooth device' icon in the list. If it is not there, then you need to purchase an adapter and install it on your computer.
It is also worth making sure that the adapter is turned on and ready to work. To do this, check that the LED on the back of the computer indicating the adapter is on. If not, check the connection of the adapter to the computer.
Once you have verified that the adapter is present and working, you can move on to the next step - setting up Bluetooth on Windows 7.
2. Turn on bluetooth in system settings
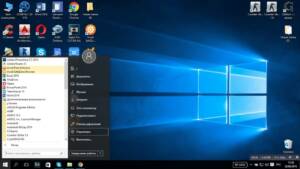
To enable bluetooth on a computer running Windows 7, you need to go to system settings. To do this, click on the 'Start' button and select 'Control Panel'. Next, you need to select 'Hardware and Sound' and go to the 'Devices and Printers' section.
In this section you need to find the 'Add device' icon and click on it. The system will begin searching for available Bluetooth devices. Found devices will be displayed in the list. You must select the desired device and follow the instructions to connect it.
If the Bluetooth device was not found, then it is possible that you need to enable Bluetooth on your computer. To do this, you need to return to the 'Hardware and Sound' section and select 'Set up Bluetooth devices'. In the window that opens, you need to make sure that the 'Enable Bluetooth' option is set to 'Enabled'.
After this, you can repeat the search for available Bluetooth devices and connect the desired device. If connection problems persist, you can try restarting your computer or seek professional help.
3. Install drivers for the Bluetooth adapter
If your computer does not recognize the Bluetooth adapter, then most likely you need to install drivers. For this:
1. Determine the manufacturer of your Bluetooth adapter. This is usually indicated on the box or on the adapter itself.
2. Find the manufacturer’s website and download drivers for your adapter model.
3. Install the drivers by following the on-screen instructions.
4. After installing the drivers, restart your computer.
5. Check that the Bluetooth adapter is recognized by your operating system. If yes, then you can move on to the next step - searching for devices to connect.
Installing drivers may only be necessary for those who use an external Bluetooth adapter. If your computer already has a built-in Bluetooth module, then the drivers are most likely already installed.
4. Connect your device
Now that Bluetooth is enabled on your computer, you can connect the device. For this:
- Open the Start menu and select Control Panel.
- Click on 'Hardware and Sound'.
- Select 'Bluetooth Devices'.
- Click on the 'Add new device' button.
- Follow the onscreen instructions to connect your device.
Your device should now successfully connect to your computer via Bluetooth. If the device does not appear in the list, make sure it is in search mode and Bluetooth is turned on on your computer.
5. Configure connection settings
Once you have enabled Bluetooth on Windows 7, you can configure the connection settings. To do this, go to the 'Control Panel' menu and select the 'Devices and Printers' section. Find your Bluetooth device and right-click on its icon. Select 'Properties' from the drop-down menu.
In the window that opens, go to the 'Services' tab. Here you can choose which Bluetooth services are available on your computer and on your device. For example, you can enable Internet access via Bluetooth or use Bluetooth to transfer files.
You can also configure the security level for your Bluetooth device in this window. You can enable or disable password protection to prevent unauthorized access to your device.
Configuring Bluetooth connection settings on Windows 7 will allow you to get the most out of this technology and protect your data from unauthorized access.
6. Enjoy wireless communication!
Once you have enabled Bluetooth on your Windows 7 computer, you can enjoy wireless communication between your computer and other devices. For example, you can sync your phone or tablet with your computer, send and receive files, use a wireless keyboard and mouse, and much more.
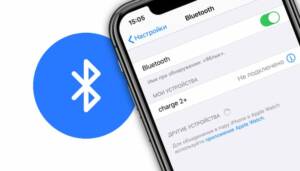
To connect a new device to your computer, first make sure it is in search mode for Bluetooth devices. Then, on your computer, click on the Bluetooth icon in the system tray and select 'Add device'.
When your computer finds the device, select it and click 'Next'. Then follow the onscreen instructions to complete the pairing process. This usually involves entering a password, which will be used to protect your device and ensure security.
Once you have connected the device, you can start using it. For example, if you connected a wireless keyboard, you can start typing on it immediately after connecting. If you have connected your phone, you can send and receive files or calls directly to your computer.
Windows 7 has many options for using Bluetooth, and it's a great way to enjoy wireless connectivity on your computer. Feel free to experiment and find new ways to use this technology!
Read further:


