- The importance of proper network cable crimping
- Basic tools and materials for crimping a network cable
- Preparing for crimping: how to prepare the cable and connectors
- Checking the correct crimping of the network cable
- Errors when crimping a network cable and how to avoid them
- Errors when preparing cables and connectors
- Errors when crimping cables and how to fix them
The importance of proper network cable crimping
Correct crimping of a network cable is one of the key factors determining the stability and speed of data transfer on the network. An incorrectly crimped cable can lead to interference, loss of signal and, as a result, a decrease in data transfer speed. It is important to understand that crimping a network cable is a process that requires certain knowledge and skills. You should not skimp on quality and choose cheap materials for crimping. Buy a quality tool that will help you make crimping as accurate and reliable as possible. Step-by-step instructions for crimping a network cable will help you not only perform the crimping process correctly, but also avoid mistakes that can reduce the quality of data transmission on your network. Follow the instructions carefully and do not forget about the quality of the materials you use. As a result, correct crimping of the network cable is a guarantee of stable and fast data transfer on your network. Do not skimp on the quality of materials and tools, and follow the instructions step by step to achieve maximum accuracy and reliability when crimping the cable.
Basic tools and materials for crimping a network cable
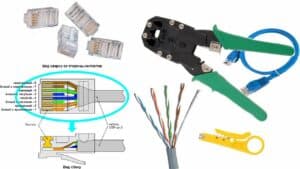
In order to properly crimp a network cable, you will need the following tools and materials:
- Cable knife
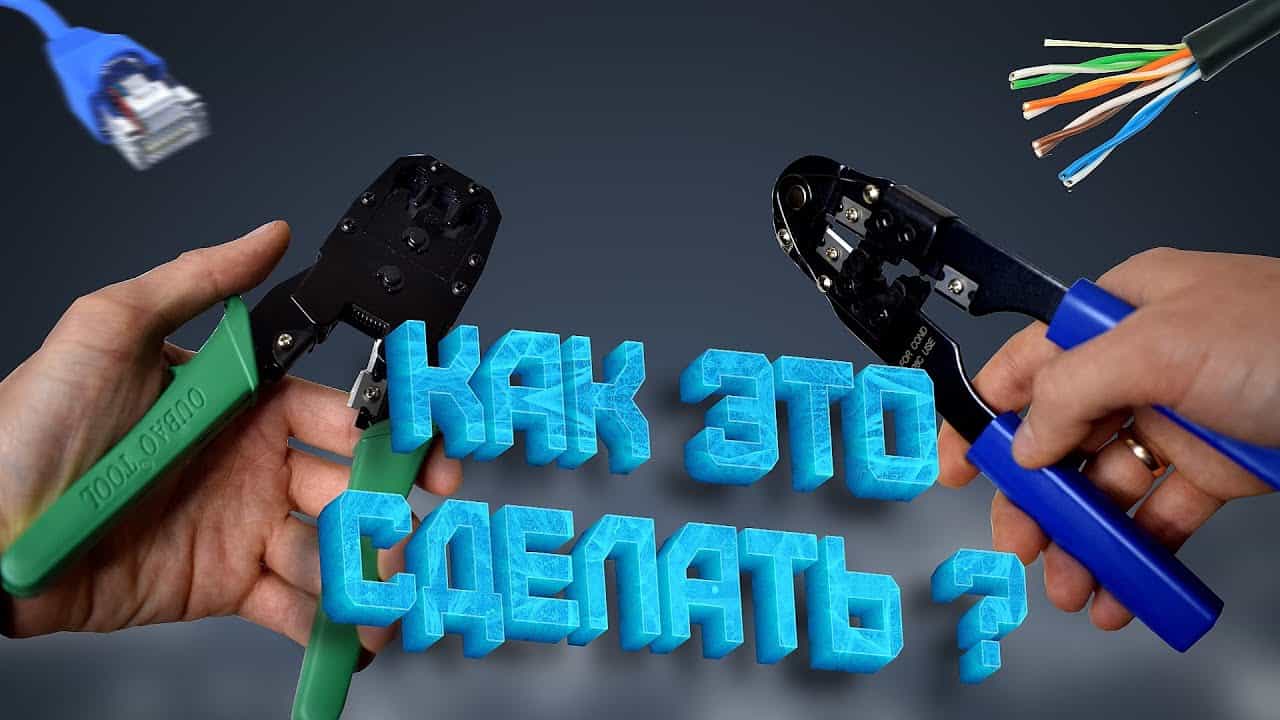
- Crimper (crimping tool)
- RJ-45 connectors
- Cable tester
- Network cable
A cable cutter is needed to cut the insulation of a network cable. The crimper allows you to crimp the connector onto the end of the cable. RJ-45 connectors are used to connect network devices. A cable tester will help you check if the connection is correct. And, of course, you need the network cable itself. Pay attention to the quality of the cable so that it suits your needs and requirements.
Preparing for crimping: how to prepare the cable and connectors
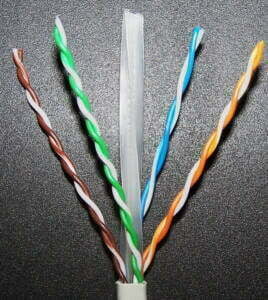
Before you begin crimping a network cable, you must properly prepare the cable and connectors. First you need to make sure that the cable is straight and undamaged. Then, at a distance of 2-3 cm from the end of the cable, it is necessary to remove the insulation using a special tool. Next, you should carefully separate the wires and align them in accordance with the order of the color markings.
The connectors also need to be prepared before crimping. You need to remove the protective cover and carefully align the connector contacts. Then the wires need to be inserted into the connector in a certain order, following the color marking. After that, you can start crimping. Remember that proper preparation of the cable and connectors is the main step to successfully crimping a network cable.
How to properly crimp a network cable: step-by-step instructions
Network cable crimping is a process that allows RJ45 connectors to be connected to cable wires. To successfully crimp, you will need special tools such as a crimper and RJ45 connectors. But the most important thing is knowing how to properly crimp the cable.
Step 1: Cable Preparation
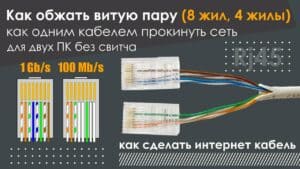
Cut the required length of cable and remove the insulation 2-3 cm from the end. Arrange the wires in the correct order using the T568B standard: white-orange, orange, white-green, blue, white-blue, green, white-brown, brown.
Step 2: Connector Installation
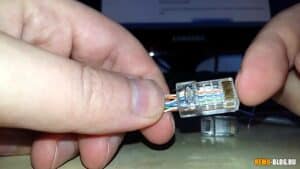
Insert the wires into the RJ45 connector in the correct order. Make sure that the wires occupy all eight positions in the connector and do not extend beyond it.
Step 3: Crimping the Cable
Use a crimper to crimp the RJ45 connector onto the cable. Make sure the wires are securely seated in the connector and do not move.
Step 4: Check the connection
Check that all wires are connected correctly and not mixed up. To do this, you can use a tester or simply connect the cable to the computer and check the network operation.
Now you know how to properly crimp a network cable. Remember that an incorrectly crimped cable can lead to network instability and data loss. So follow our instructions and do everything right!
Checking the correct crimping of the network cable
After you have crimped the network cable, you need to check how correctly you did it. There are several ways to check, but we will look at the main two.
1. Visual inspection
First you need to visually check that the cable looks properly crimped. Check that all wires are located inside the connector and that they do not protrude too much or sag. Also check that all wires are laid in the correct order.
2. Cable tester
If the visual check is unsuccessful, you can use a cable tester. A cable tester can help you check if your cable is properly crimped and identify any problems with the wires.
It is important to know that a properly crimped cable should transmit data without errors and have the maximum transfer speed. If you find any problems, you need to recheck the cable crimp and correct any errors.
Bottom line, making sure your network cable is properly crimped is an important step that must be completed to ensure that the cable operates efficiently and safely. Remember to check the cable before use and correct any errors to avoid data loss and other problems.
Errors when crimping a network cable and how to avoid them
When crimping a network cable, you can make many mistakes that can lead to improper network operation. One of the main mistakes is the wrong choice of crimper. Not all crimpers are suitable for all connector types, so you must select a tool that matches the connector you are using.
Another common mistake is improper cable preparation. It is necessary to expose the wires correctly and ensure that they are in the correct order. A rough cable edge or misplaced wires can cause incorrect contact and loss of signal.
It is also important to position the cable correctly in the connector. Some connectors have clips that must be secured at a certain height to ensure proper contact. If the cable is not positioned correctly, signal loss may occur.
To avoid mistakes when crimping a network cable, you must follow the manufacturer's instructions and use high-quality materials. You must also ensure that the cable is properly prepared and positioned in the connector. A properly crimped cable will ensure reliable network operation and avoid future problems.
Errors when preparing cables and connectors
Preparing the cable and connectors is one of the most important steps when crimping a network cable. Errors at this stage can lead to slow data transfer rates or even complete connection failure. The most common mistakes are improperly cutting the insulation, uneven distribution of wires in the connector, and improperly securing the cable in the connector.
When cutting insulation, you must ensure that it is cut far enough away from the conductor to avoid damaging the copper wire. You also need to make sure that all the wires are cut to the same length so that they are evenly distributed in the connector.
When distributing the wires in the connector, you need to make sure that they are distributed in the correct order and are not twisted with each other. Improper wiring may result in signal interference and reduced data transfer rates.
Finally, when securing the cable to the connector, you need to make sure that it is fastened tightly enough so that it does not pop out of the connector when the cable is pulled. However, you must also make sure that the cable is not secured too tightly to avoid damaging the wires.
By being aware of these errors and taking steps to prevent them, you can ensure that your network cable is crimped correctly and creates a reliable connection.
Errors when crimping cables and how to fix them
When crimping a network cable, various errors can occur that can lead to improper network operation. For example, the cable may not work at all, be slow, or lose data packets.
One of the most common mistakes when crimping cables is incorrect placement of the conductors in the RJ45 connector. To correct this error, you need to remove the connector and crimp the cable again, following the instructions for the correct placement of the conductors.
Another common mistake is not fully crimping the conductors. In this case, the conductors may slip out of the connector, which will lead to communication problems. To correct this error, you should make sure that the conductors are fully inserted into the connector and are securely fastened.
Also, when crimping the cable, a problem with the insulation of the conductors may arise, which can lead to network failures. To avoid this problem, you should ensure that the conductor insulation is intact and securely attached to the connector.
It is important to remember that proper cable crimping is not only about eliminating errors, but also about ensuring reliable operation of the entire network. Therefore, if you are not confident in your cable crimping skills, it is better to contact a specialist to avoid communication problems in the future.
Read further:
