- Preparing to connect the projector
- Connecting the projector cable to your computer
- Installing and configuring projector drivers
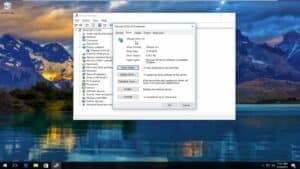
- Checking the connection between the projector and computer
- Setting the screen resolution on your computer
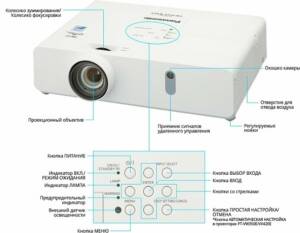
- Turning on the projector and selecting an operating mode
- How to adjust sound on a projector
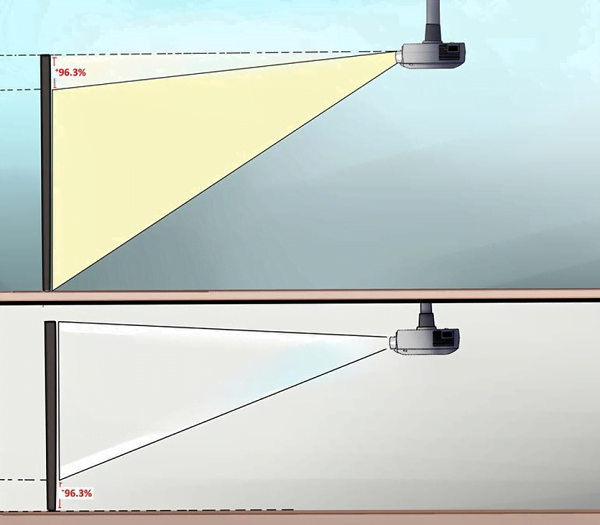
- How to adjust the image on the projector
Preparing to connect the projector
Before you start connecting your projector to your computer, you need to make sure you have all the necessary cables and wires. In most cases, you will need a VGA cable or HDMI cable to connect the projector to your computer. It's also worth making sure that your computer can connect to the projector. In most cases, this should not cause problems, but if you are using an older computer, you may need additional adapters and adapters. If you are using a laptop, then before connecting the projector you need to make sure that it is plugged into an outlet and is in AC mode and not on battery power. This will avoid charging problems and provide more stable operation. It's also worth checking your computer's screen settings. Some computers automatically change their screen resolution when connected to a projector, but if they don't, you'll need to adjust the screen resolution and scaling yourself to ensure the projector's image is clear and readable. Preparing to connect your projector may seem like a fairly simple task, but it is a key step to successfully connecting and using your projector. So be sure to pay attention and follow the manufacturer's instructions.
Connecting the projector cable to your computer
To connect the projector to your computer, you must use a VGA or HDMI cable. First you need to find the corresponding ports on your computer and projector. They are usually located at the back or side. After the ports are found, connect one end of the cable to a port on the computer, and the other end to the corresponding port on the projector. If the connection was successful, the image from the computer should appear on the projector. If this does not happen, you will need to check that the projector is turned on and has the correct input channel selected.
Installing and configuring projector drivers
Before connecting the projector to your computer, you need to install drivers. This will allow your computer to correctly recognize the projector and use its functionality.
1. Locate the driver disc that came with your projector. If you do not have the disk, you can download the necessary drivers from the manufacturer's website.
2. Insert the disc into the optical drive or run the downloaded driver file.
3. Follow the onscreen instructions to complete the driver installation.
4. After installing the drivers, connect the projector to your computer using a VGA or HDMI cable.
5. Using the projector's remote control, select the input mode that matches the type of cable you used to connect.
6. If your computer does not detect the projector, check that the connectors are securely seated and that the drivers have been installed correctly.
By following these simple instructions, you can quickly and easily connect and set up a projector on your computer.
Checking the connection between the projector and computer
Before you start using the projector, you need to make sure that the connection and connection between the projector and computer are correct. To do this, follow these steps:
1. Make sure the projector and computer are plugged in and turned on.
2. Connect the VGA or HDMI cable from the projector to your computer.
3. On your computer, open the control panel and select the 'Display' section.
4. Set the screen resolution for the projector by selecting the appropriate option.
5. Click the 'OK' button and check if the image appears on the projector screen.
6. If the image does not appear, make sure the cable is connected correctly and try again.
7. If the problem persists, check the projector and computer settings to make sure they are configured correctly.
Checking the connection between the projector and computer is an important step before using the projector. You need to make sure that the connection and settings are correct so that the image is clear and bright.
Setting the screen resolution on your computer
Setting the screen resolution correctly on your computer is very important, especially if you are connecting a projector. By choosing the right resolution, you can get the clearest image on your screen.
Step 1: Right-click on an empty area of the screen and select 'Screens Options'.
Step 2: In the window that opens, select 'Screen Resolution'.
Step 3: Select the optimal resolution for your computer and projector. Usually this is 1920x1080 or 1280x720.
Step 4: Click 'Accept' to save the settings.
If you are working with a projector, be sure to also set its resolution to the same level as your computer. This will help avoid image distortion and produce a clearer image.
Adjusting the screen resolution may take a few minutes, but it is very important for getting the best possible picture on your screen. Follow our instructions and set the screen resolution on your computer correctly!
Turning on the projector and selecting an operating mode
Before you connect the projector to your computer, you must turn it on correctly and select the operating mode.
1. Turn on the projector by pressing the power button on the front panel or on the remote control.
2. Wait for the projector to warm up. This usually takes a few minutes.
3. Select the projector operating mode. This could be computer mode, movie mode or game mode. To select the operating mode, use the remote control or the buttons on the front of the projector.
4. Check whether the operating mode is selected correctly by viewing the image on the screen. If the image does not display correctly or does not fill the entire screen, check the resolution settings on your computer and adjust it to the projector's resolution.
After completing these steps, you are ready to use the projector for work.
How to adjust sound on a projector
Once you have successfully connected the projector to your computer, you may need to adjust the audio. This may be necessary if you are going to show a presentation or video with sound. Follow these simple steps to adjust the audio on your projector:
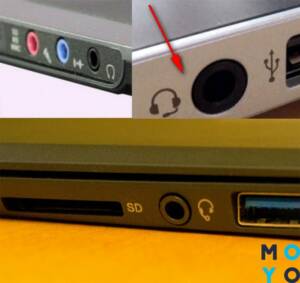
1. Check if the audio cable is connected to the projector. Typically it should be connected to the headphone jack on your computer and the corresponding jack on the projector.
2. Turn on the projector and computer, and then press the 'Source' button on the projector's remote control. Select the audio source you want to use.
3. Using the projector's remote control, select the 'Audio Settings' option. Here you can adjust the sound volume, balance and other parameters.
4. If you have external audio devices such as speakers, connect them to the projector and adjust the sound through the audio settings.
5. Once you have adjusted the volume on the projector, make sure that the volume on your computer is also adjusted to the correct level.
These simple steps will help you set up the sound on your projector and enjoy high-quality sound during presentations and watching videos.
How to adjust the image on the projector
After you have connected the projector to your computer, you need to adjust the image on the screen. Here's what to do:
- Turn on the projector and wait until it boots up.
- Press the 'Source' button on the projector or remote control to select the input source. Select 'VGA' or 'HDMI' depending on how you connected the projector to your computer.
- On your computer, open the Start menu and select Control Panel. Then select 'Display Settings'.
- The 'Screen' window will appear. Click on the 'Detect' button. The computer will automatically detect the connected projector and set it up as a second screen.
- From the 'Screen' menu, select the 'Screen Resolution' tab. Select a resolution that matches the projector's resolution. This will give you the best image quality.
- After setting the resolution, click the 'Apply' button.
- You can now drag windows from your computer to the projector and vice versa. To display the image on the projector, select the desired window and press the 'Windows' + 'P' key combination. Select 'Extend' and click 'OK'.
With these simple steps, you can set up your projector's image and start using it for presentations, watching movies, and more.
Read further:


